> ## Documentation Index
> Fetch the complete documentation index at: https://larkup.de/documentation/llms.txt
> Use this file to discover all available pages before exploring further.
# Quickstart
> Start your first AI conversation in minutes.
Larkup gets out of your way. There is no server to configure, no pipeline to build. Three steps and you are chatting with your data.
When you open Larkup for the first time you will see the onboarding screen. Paste your API key from any supported provider, including OpenAI, Anthropic, Google, and DeepSeek, then click **Save**. The key is stored locally in your browser and used for chat and embedding calls.
 You can change your model provider at any time from **Settings → AI Models**.
Click **Data** in the left sidebar, then choose the source that matches your content.
Paste a page or domain URL. You can crawl it directly or search for pages by keyword.
You can change your model provider at any time from **Settings → AI Models**.
Click **Data** in the left sidebar, then choose the source that matches your content.
Paste a page or domain URL. You can crawl it directly or search for pages by keyword.
 Paste notes, transcripts, or any text you want to search, with a title.
 Open **Integrations**, choose Notion or another source, then select **Configure** or **Connect**. After authorization, Larkup adds the selected content to your knowledge base.
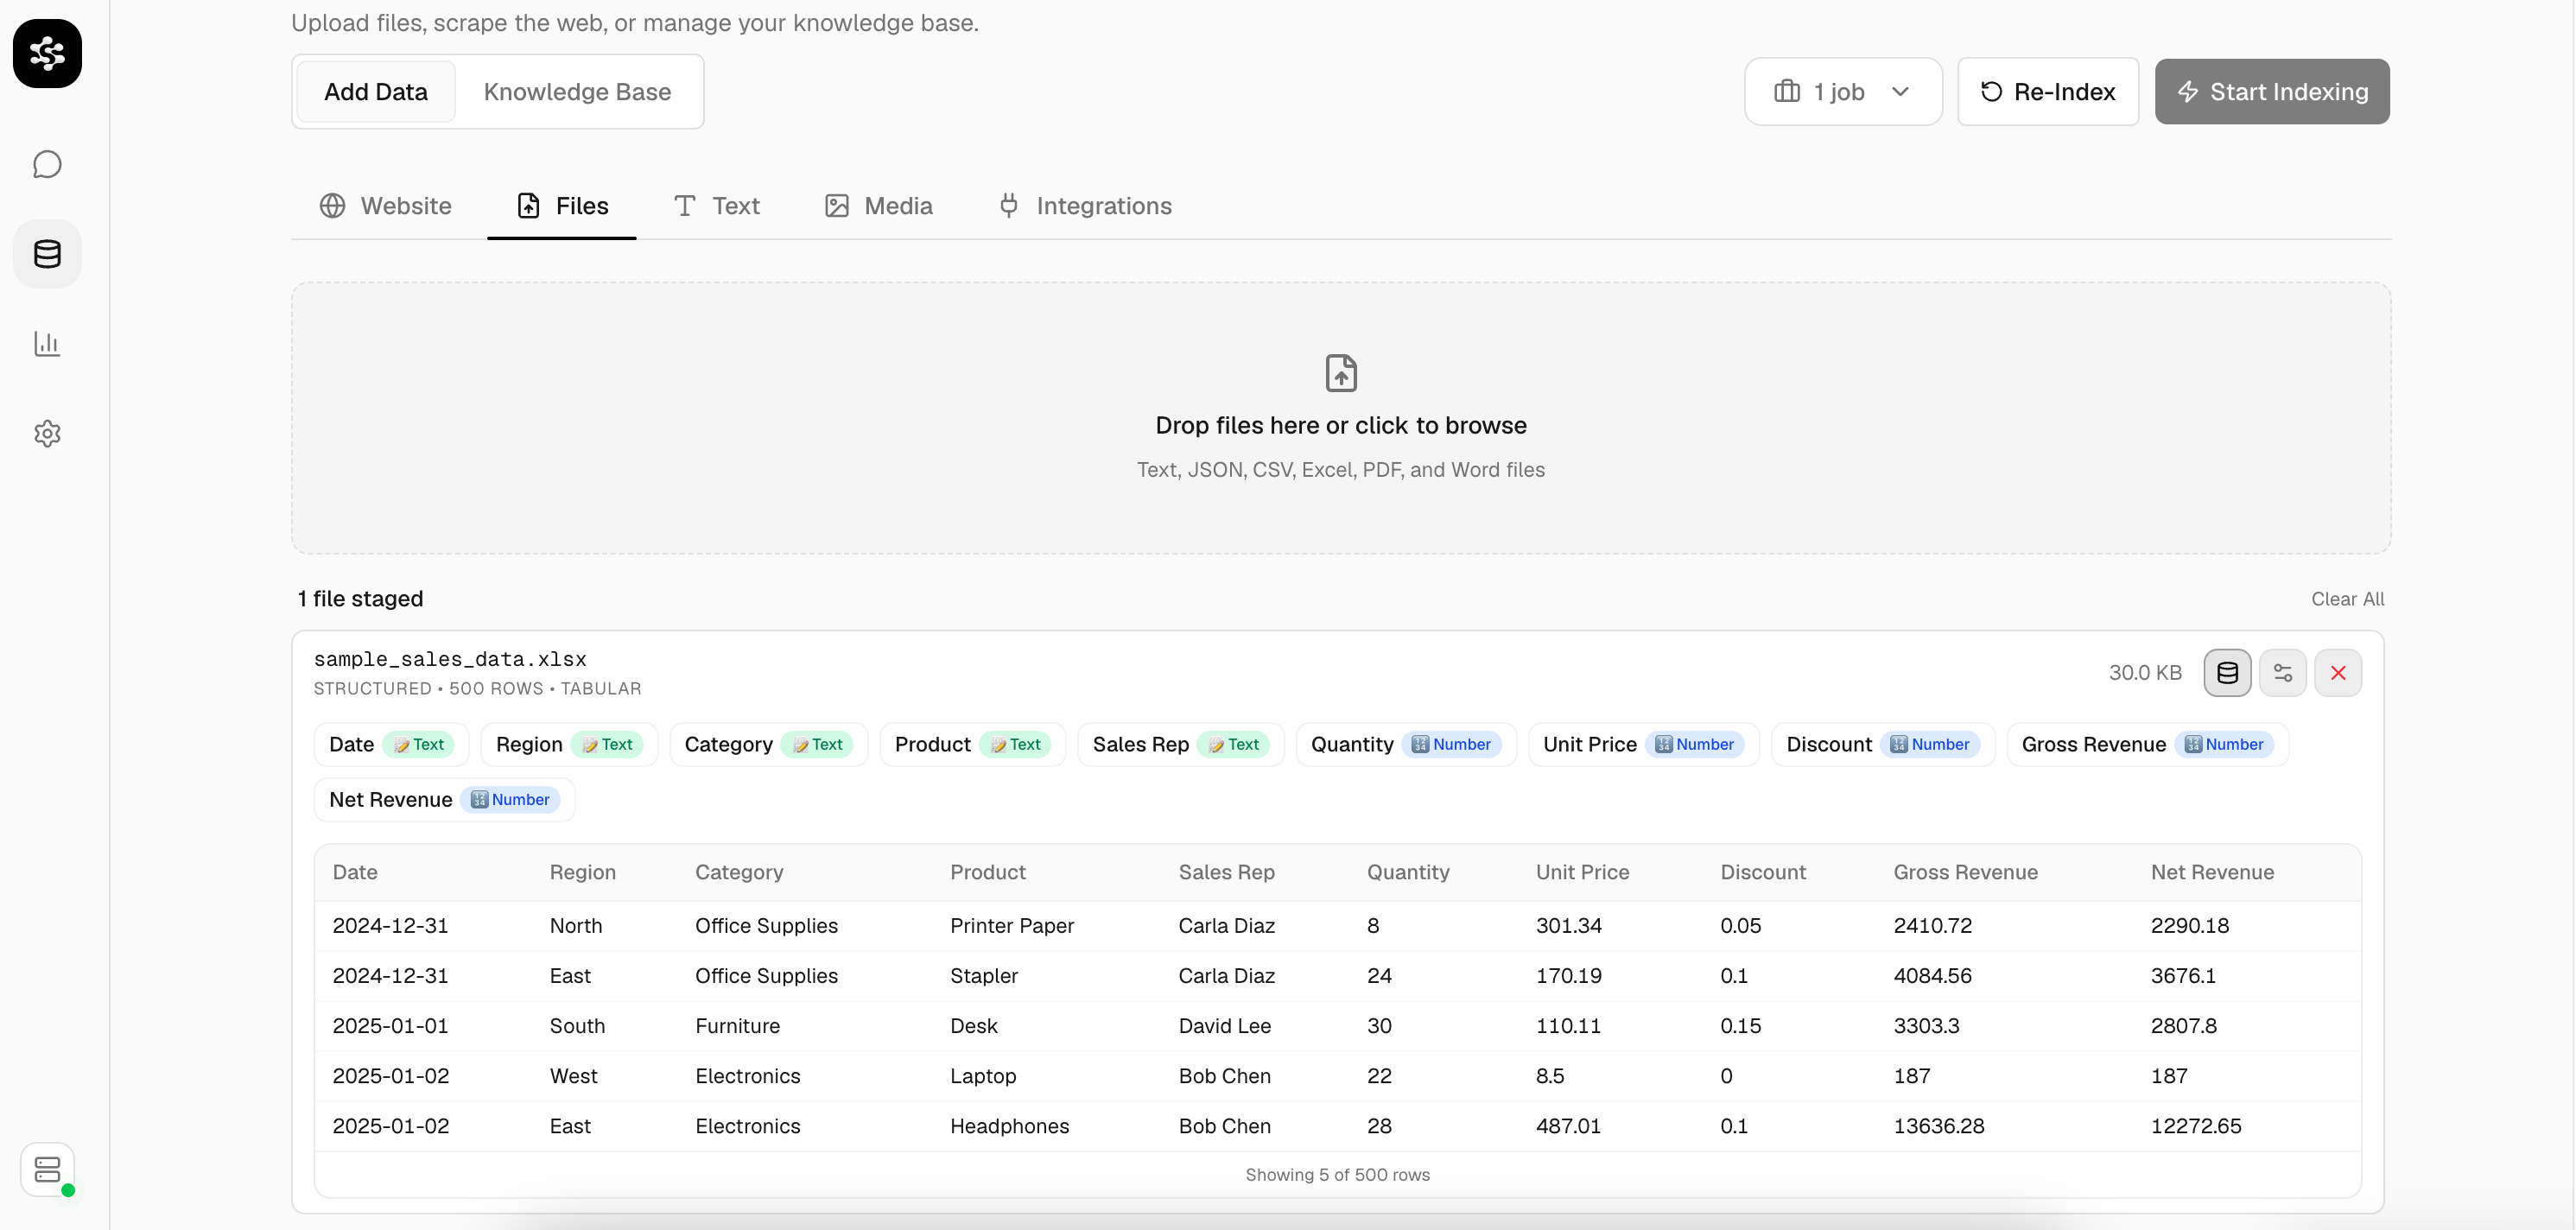
 Open **Files** and upload a CSV or Excel file. Larkup previews the columns and rows before indexing.
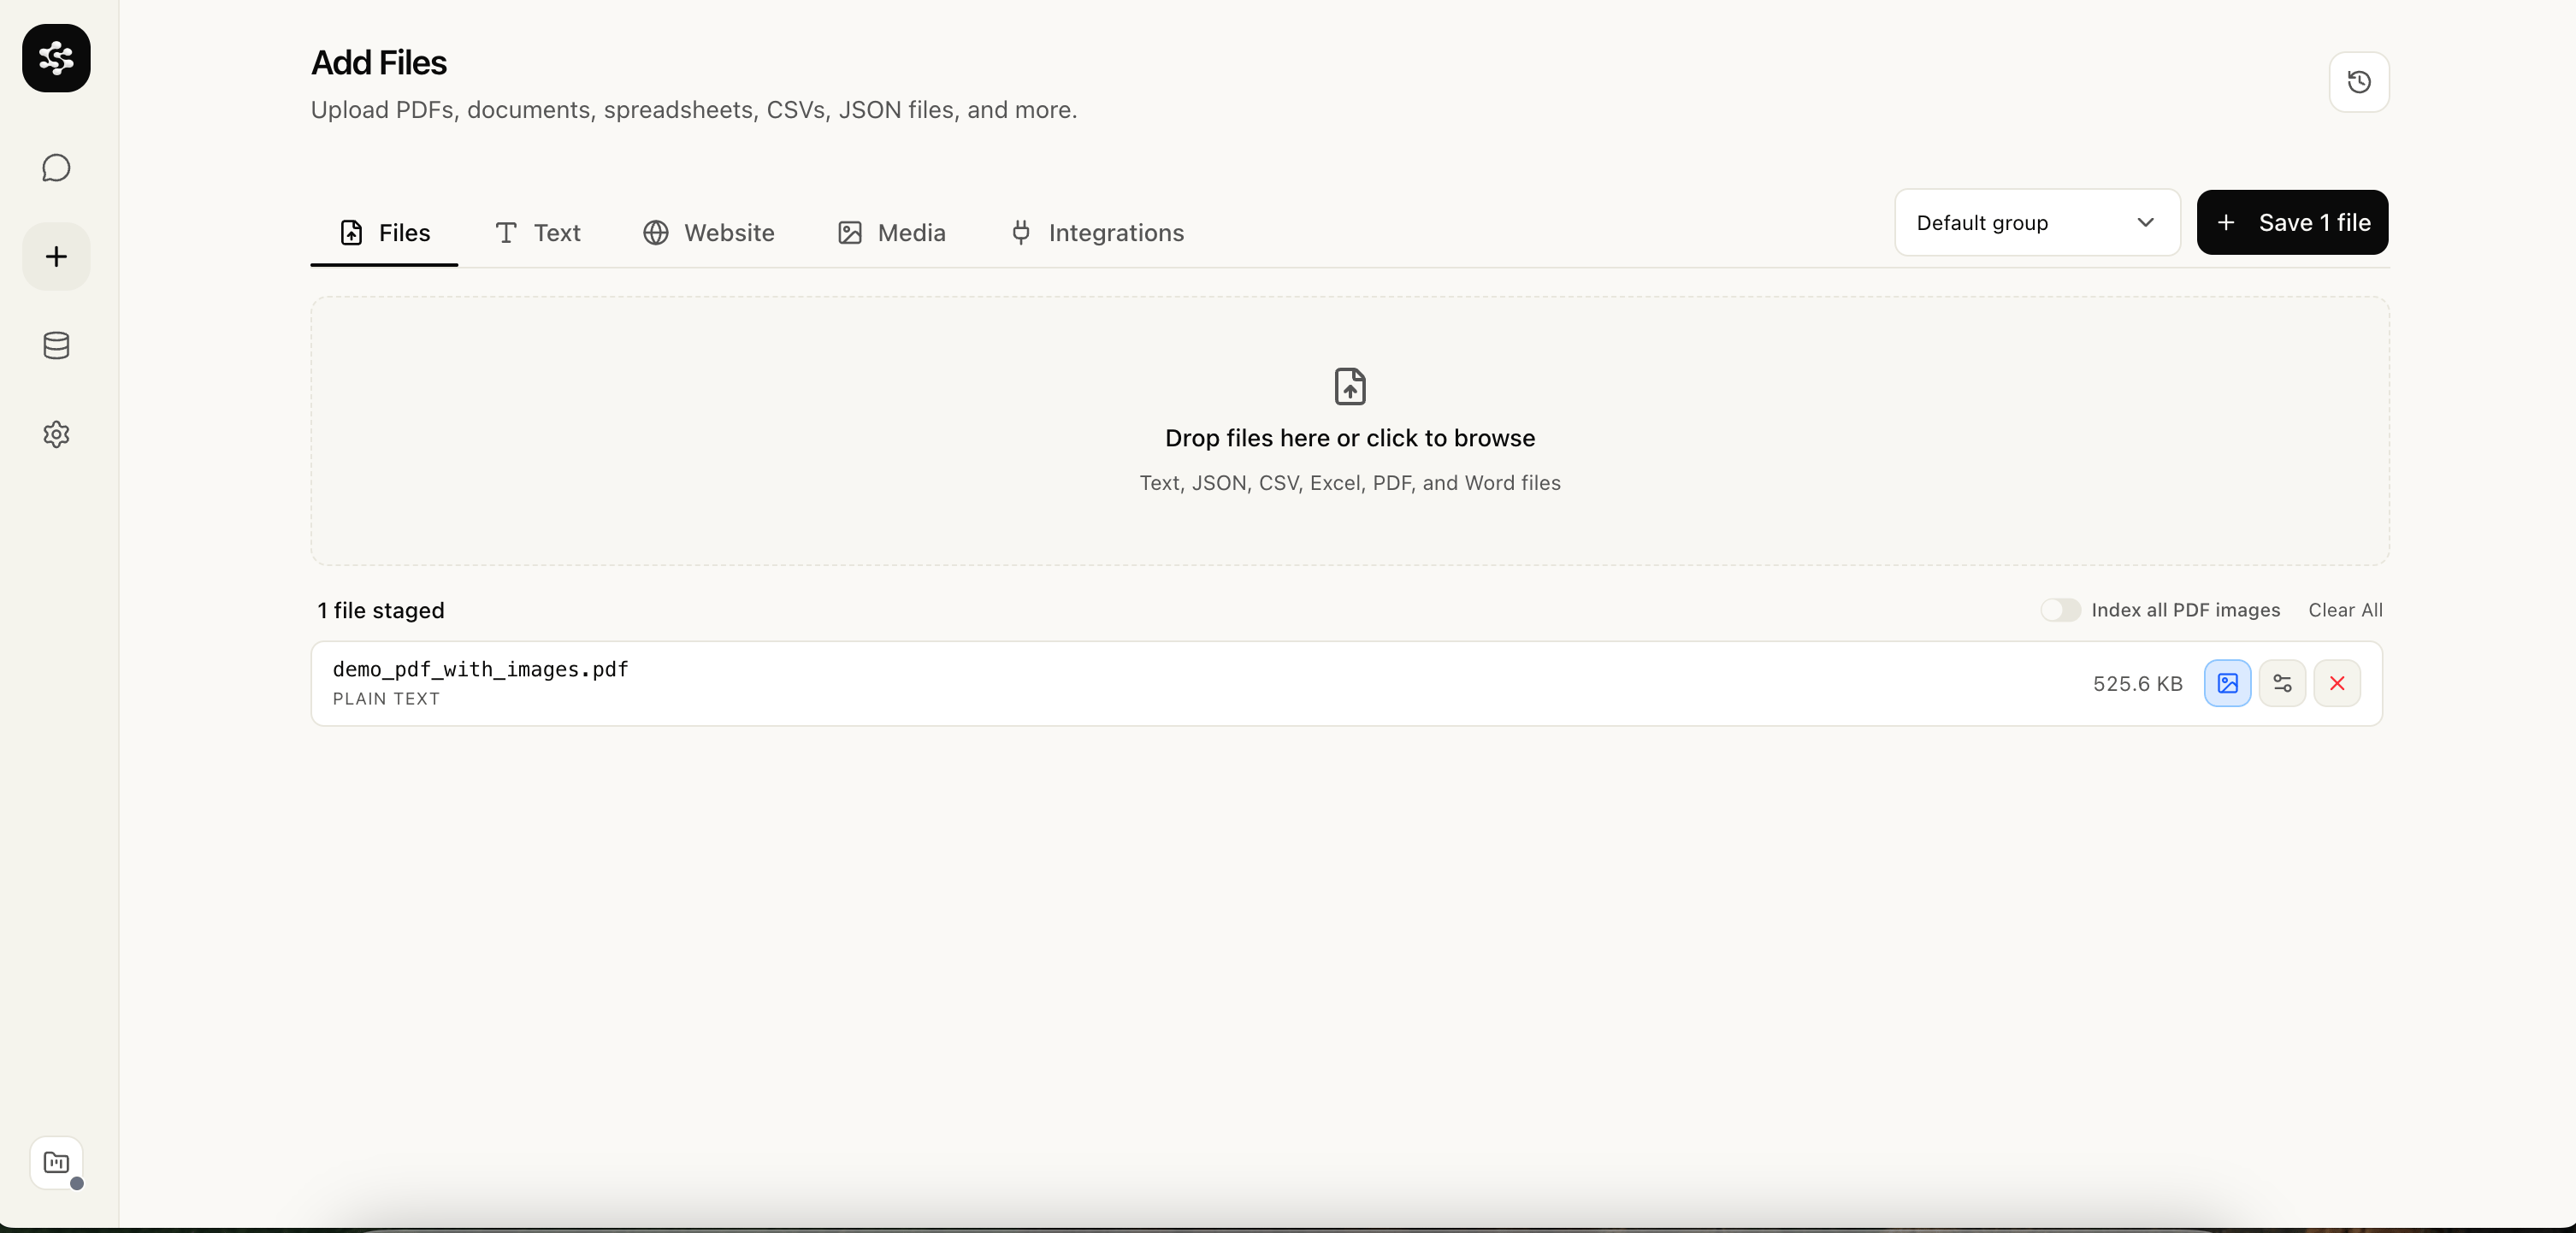
 Open **Files** and drop in a PDF. You can add one file or stage several files together.
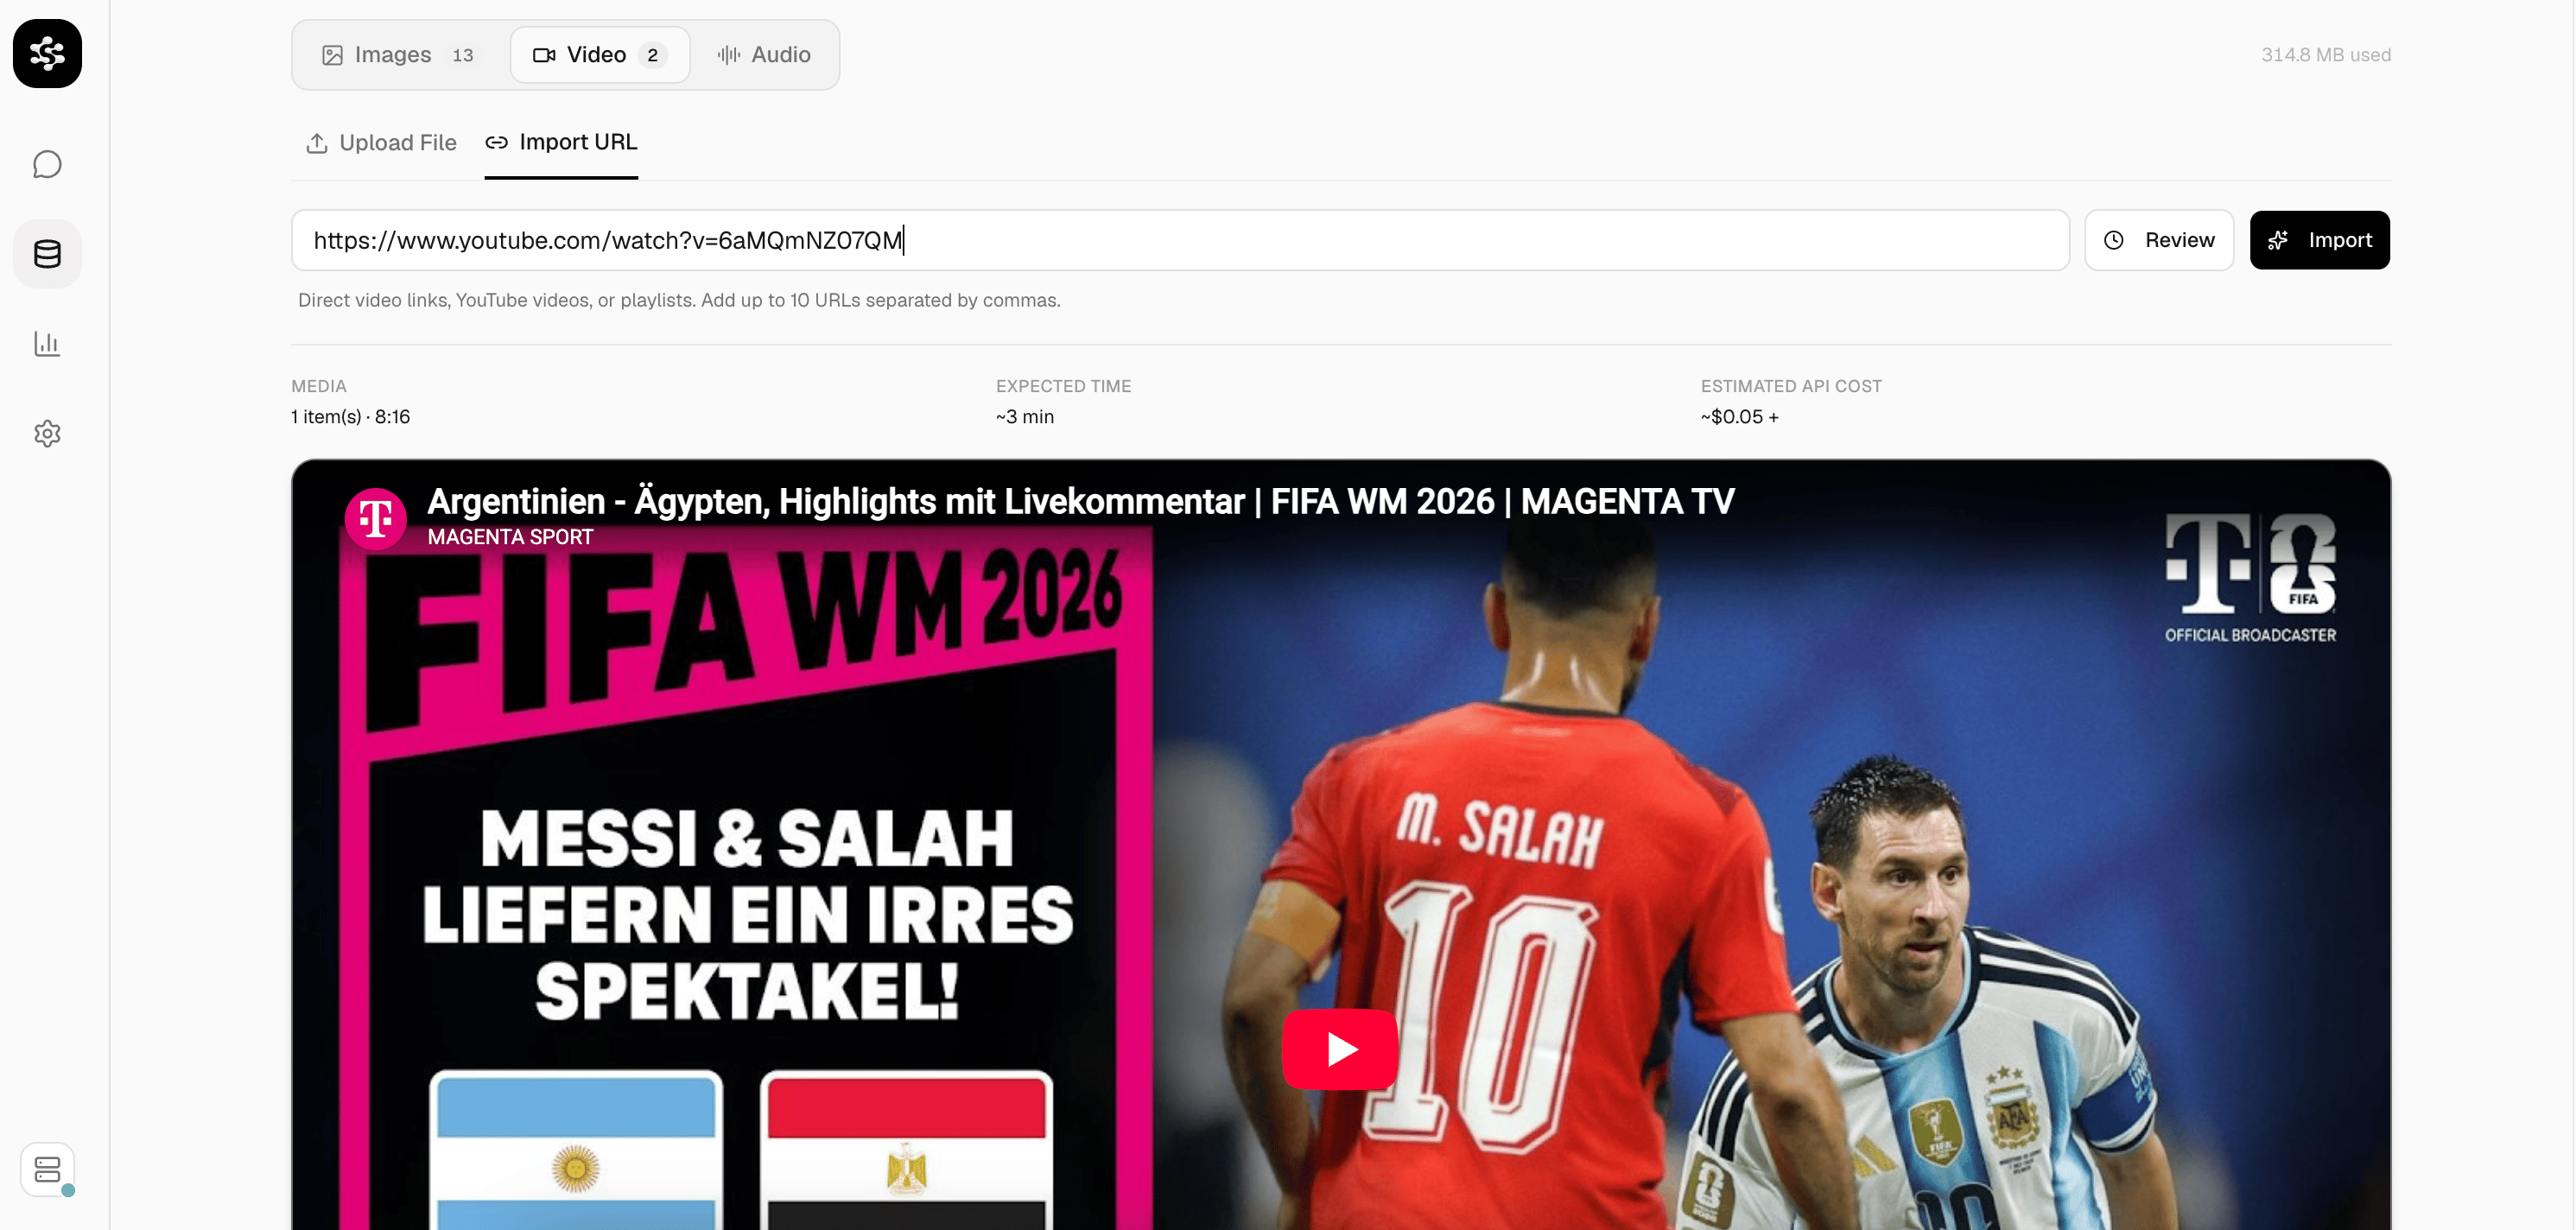
 Open **Media** to upload a video or import a YouTube URL. Review the duration and estimated processing cost before you confirm.
 Once you confirm, Larkup indexes the content in the background. You can watch progress in real time. There is no separate indexing step.
 Click **Chat** in the sidebar. Select an LLM from the dropdown at the top and ask anything about your data. Answers are grounded in what you loaded, with source citations shown in the sidebar.
 Connect the same Agent to Telegram, Slack, or Discord and answer questions right where your team already talks.
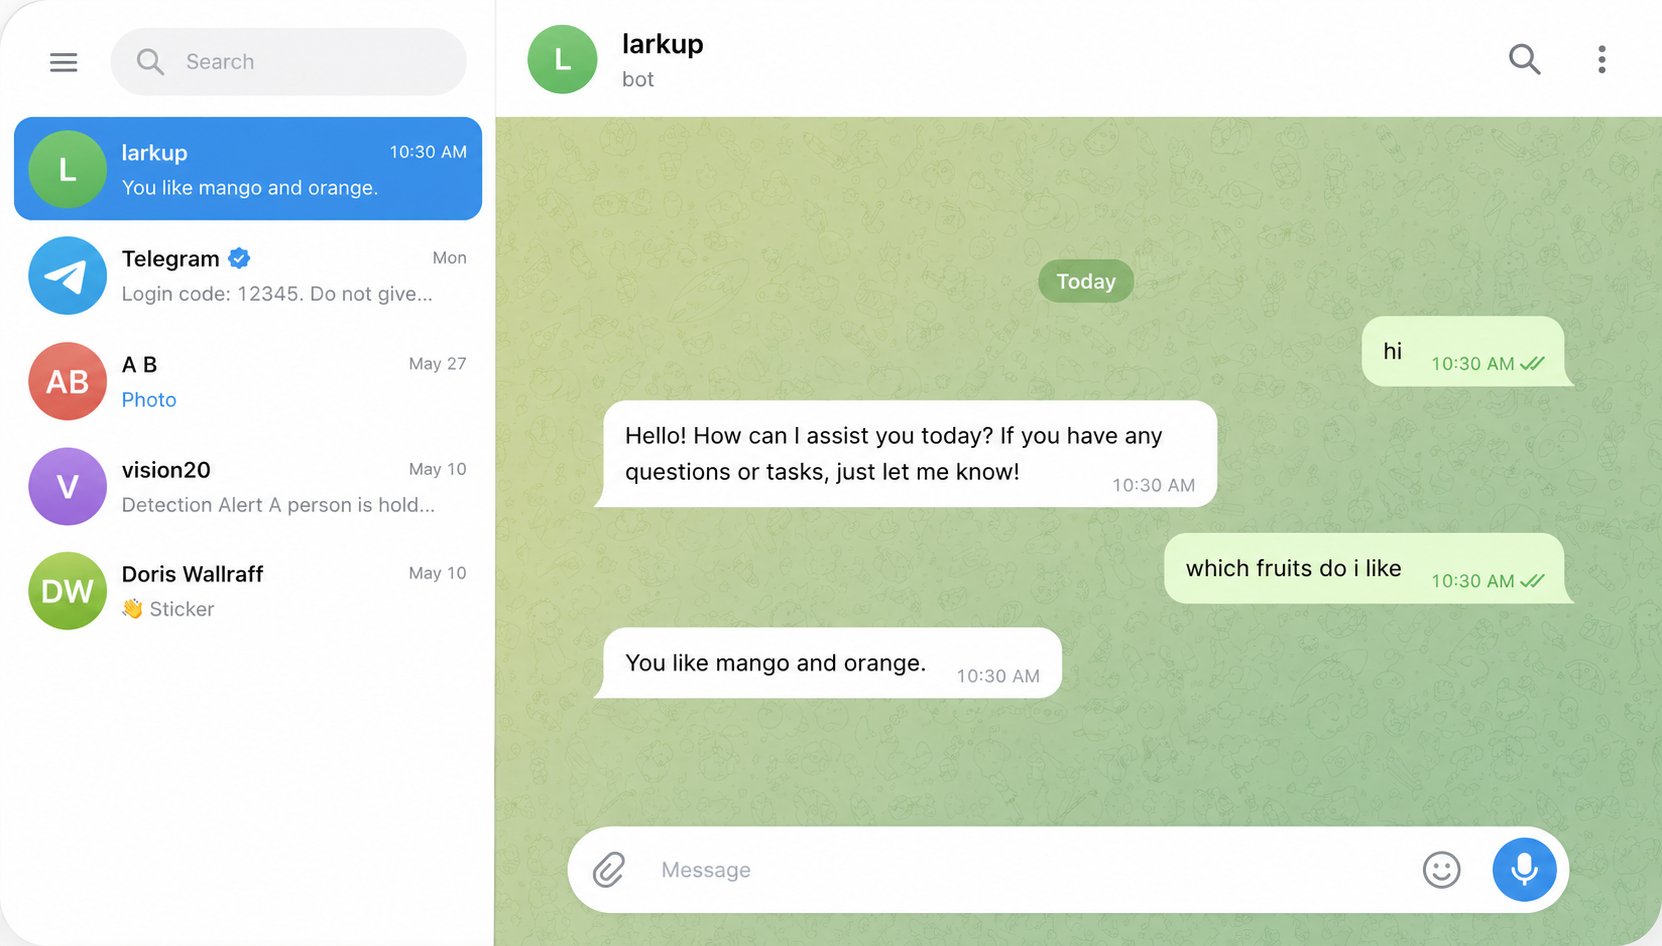
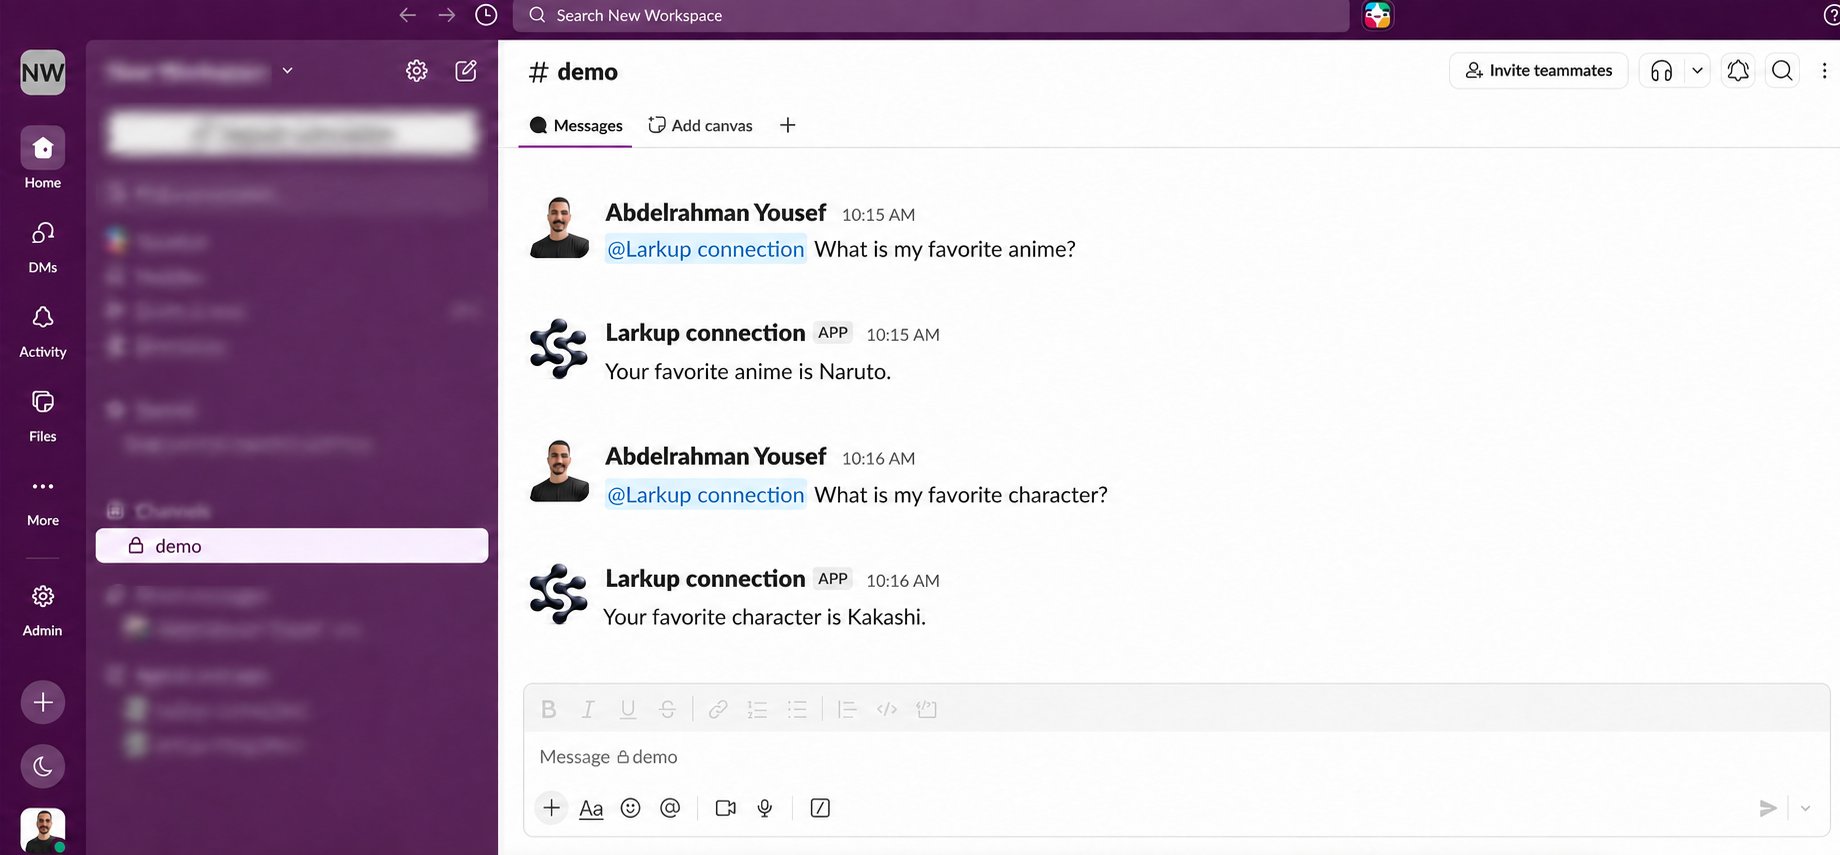
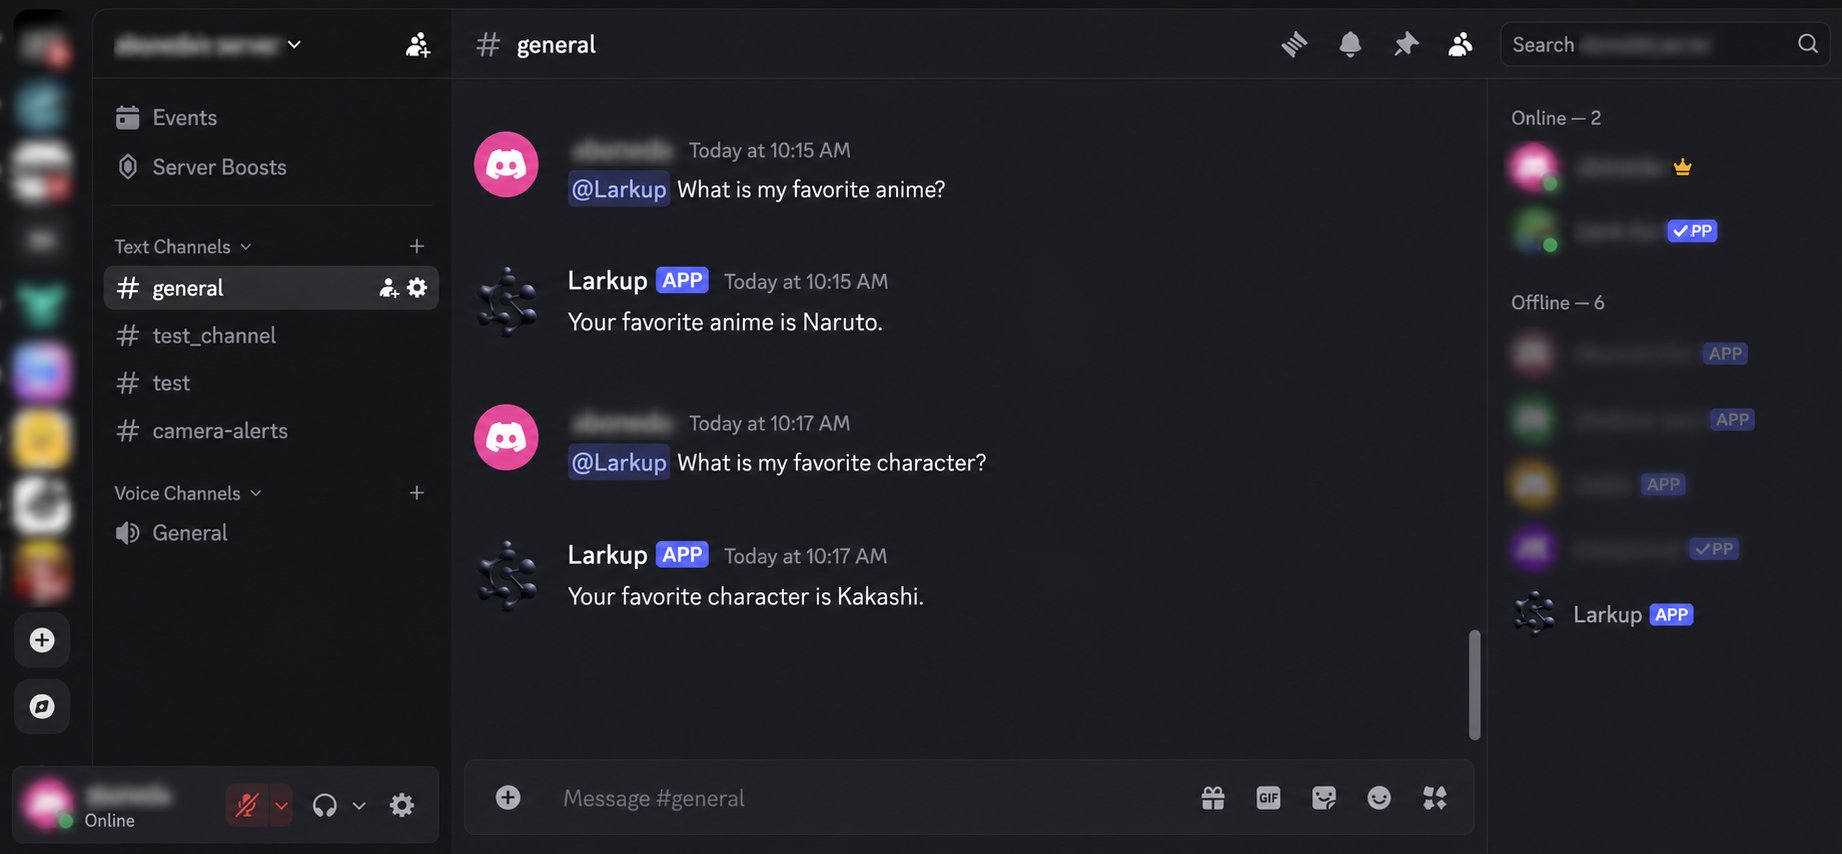 See [Talk to Your Custom AI from Social Media](/documentation/documentation/guide/public-webhooks) to connect a channel.
Customize your Agent exactly to your needs from **Settings → Agent Customization**:
Write the system prompt the Agent follows.
See [Talk to Your Custom AI from Social Media](/documentation/documentation/guide/public-webhooks) to connect a channel.
Customize your Agent exactly to your needs from **Settings → Agent Customization**:
Write the system prompt the Agent follows.
 Turn built in tools on or off (e.g. semantic search, CSV analysis, form filling).
 Add custom Skills to extend the Agent's instructions and resources.
 Connect a remote Model Context Protocol server.
 Give your Agent access to a remote computer for code execution.
 Once configured, launch your custom AI Agent server, connect to it via the SDK or REST API, and deploy it to production.
 Your Agent server also exposes a complete machine readable API and interactive Swagger/Scalar reference.
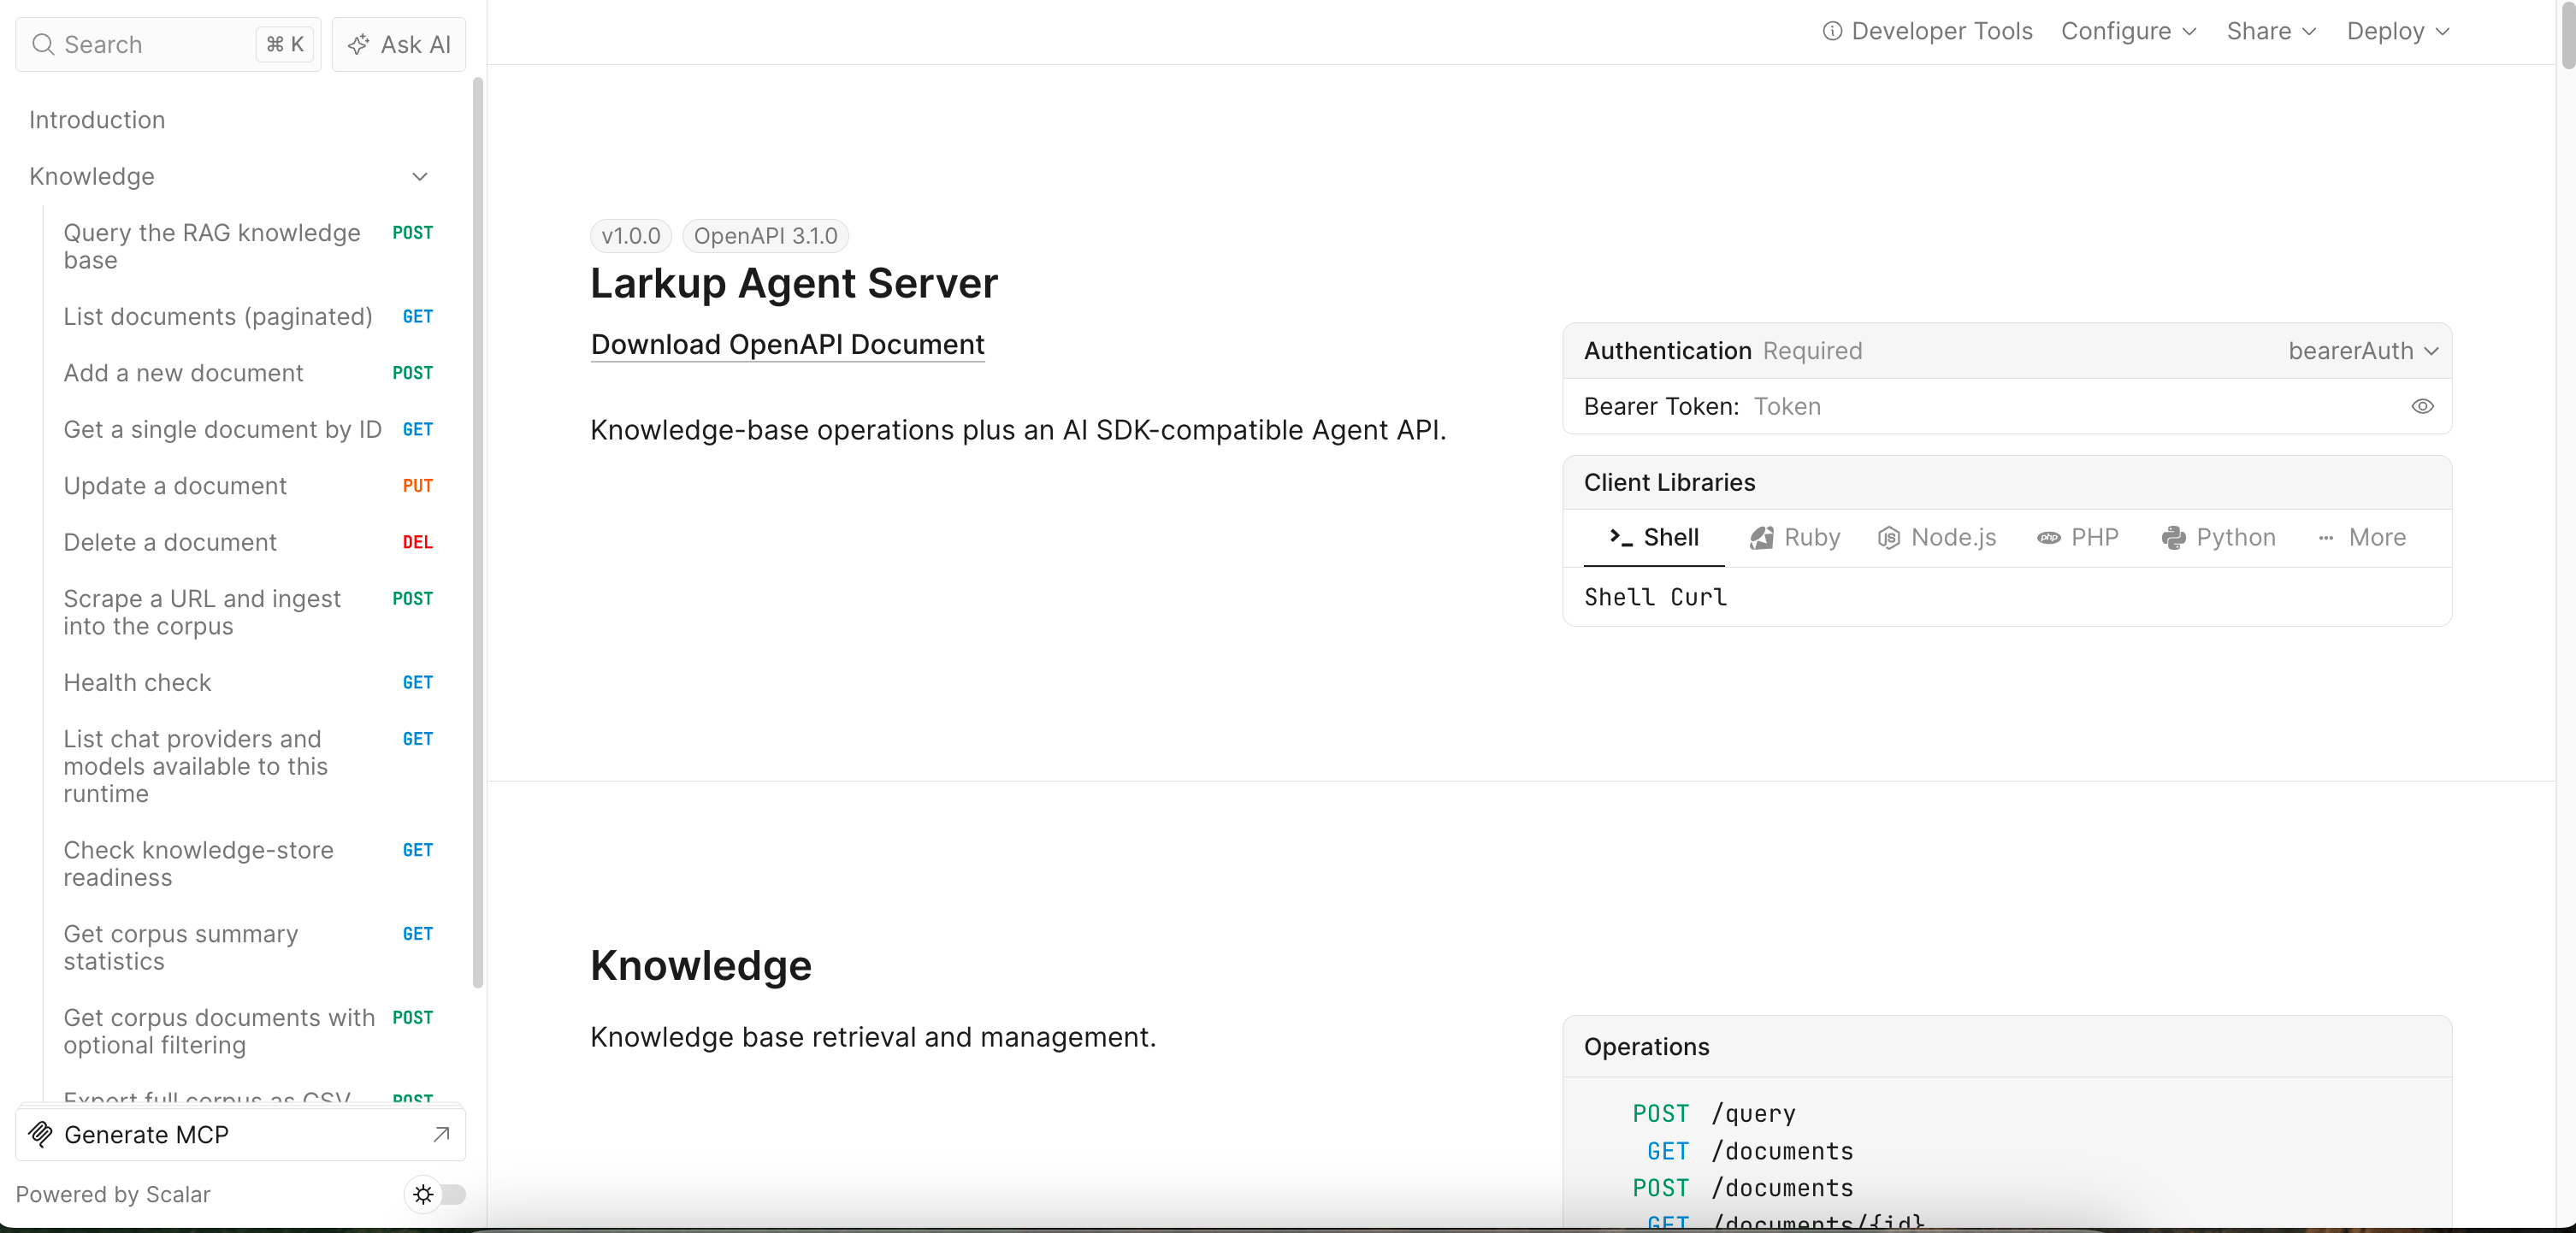 See [Agent Runtime API](/documentation/documentation/developer/agent-runtime-api) and [Deployment](/documentation/documentation/developer/deploy) for more details.
## What you can do next
Your data is indexed and your server is already running. A few directions to explore:
* [Chat with a video](/documentation/documentation/guide/video-chat) and get answers with timestamps.
* [Analyze a spreadsheet](/documentation/documentation/guide/data-analysis) with charts and summaries in Chat.
* [Sign or fill a document](/documentation/documentation/guide/document-editor) with a live preview.
* [Talk to your Agent](/documentation/documentation/guide/public-webhooks) from Telegram, Slack, or Discord.
* [Add a chat widget](/documentation/documentation/developer/deploy) to your website.
* [Connect an AI agent](/documentation/documentation/developer/agent-runtime-api) through the SDK or REST API.
Prefer the terminal? The CLI covers the same workflow. See the [CLI Reference](/documentation/documentation/developer/cli).
See [Agent Runtime API](/documentation/documentation/developer/agent-runtime-api) and [Deployment](/documentation/documentation/developer/deploy) for more details.
## What you can do next
Your data is indexed and your server is already running. A few directions to explore:
* [Chat with a video](/documentation/documentation/guide/video-chat) and get answers with timestamps.
* [Analyze a spreadsheet](/documentation/documentation/guide/data-analysis) with charts and summaries in Chat.
* [Sign or fill a document](/documentation/documentation/guide/document-editor) with a live preview.
* [Talk to your Agent](/documentation/documentation/guide/public-webhooks) from Telegram, Slack, or Discord.
* [Add a chat widget](/documentation/documentation/developer/deploy) to your website.
* [Connect an AI agent](/documentation/documentation/developer/agent-runtime-api) through the SDK or REST API.
Prefer the terminal? The CLI covers the same workflow. See the [CLI Reference](/documentation/documentation/developer/cli).